教程中运用到的几个命令:LINE(这个不用说了吧!)POINT(画点)ARRAY(陈列)
LENGTHEN(伸长)ATTDEF(属性定义)BLOCK(定义块)INSERT(插入块)EXPLODE(分解)。
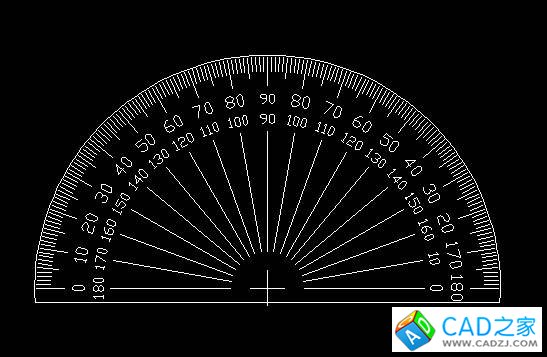
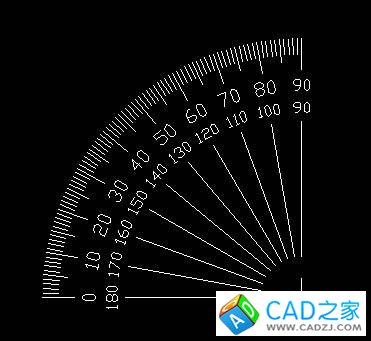
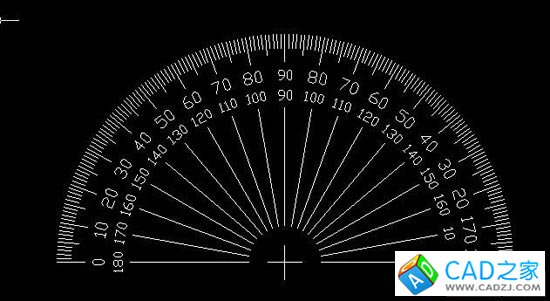
效果图!
现在把这个教程做完!
请看
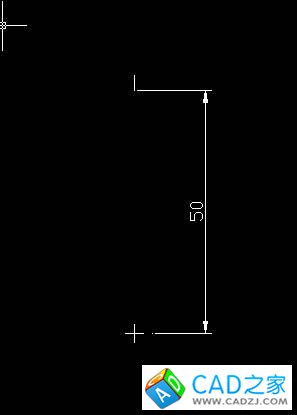
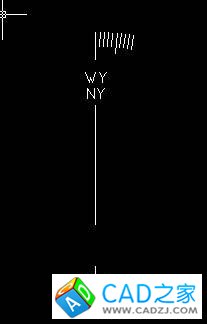
现用画线命令(L),画出一条长度为3的垂线!

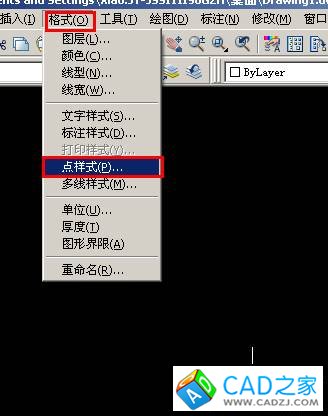
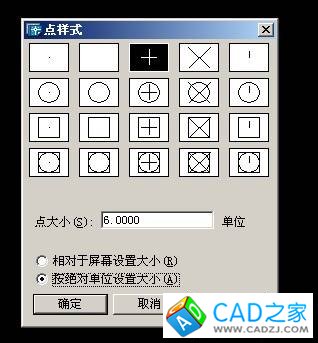
2.设点的样式为+,点的绝对大小为6.
确定点位置,相对于刚画的直线正上方与点的距离值为50(其实这个距离值无所谓咯)!
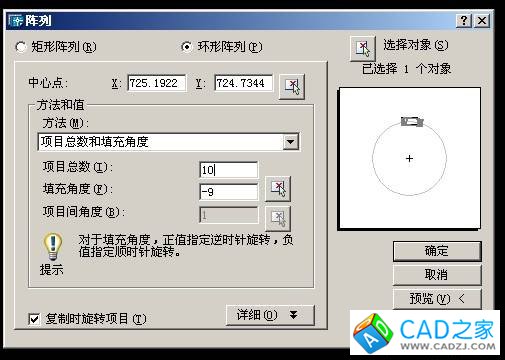
用ARRAY命令,对直线进行陈列复制,陈列中心为点中心,陈列数为10,填充角度为-Array,复制旋转!
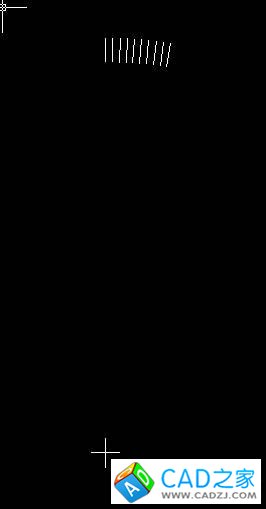
用LENGTHEN(伸长)命令,
实行LENGTHEN,选择DE增量,把第一根线增长到6,每6根增长到4.5.
两次伸长命令请看下图


用画线命令,画一段长26的垂线,起点于第一根直线下端点距离为10!
下图是各线的长度值!
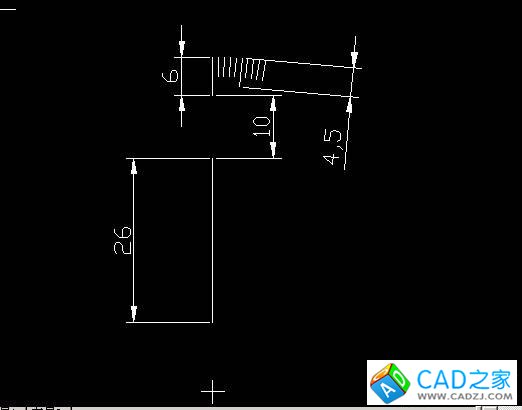
呵 ,说一下,你们在做图时,可不要把标注打上,我只是为了让大家能搞清楚线的位置!
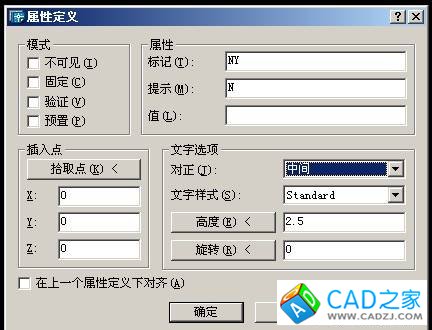
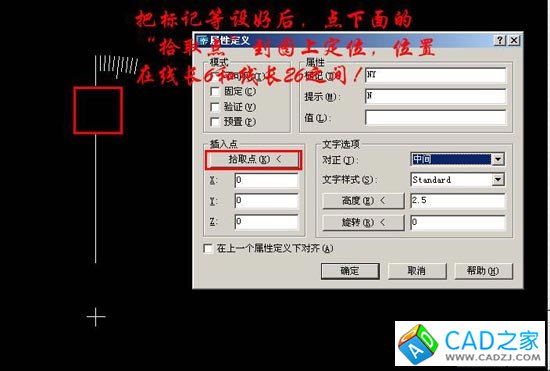
用ATTDEF,定义属性!
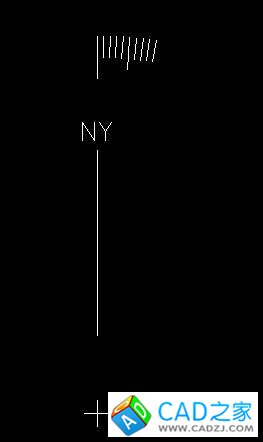
须定义两个标记(NY和WY),请看图解!
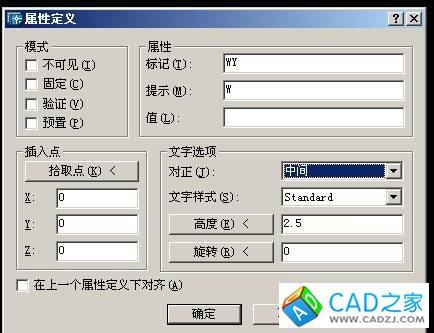
用同样的方法把标记WY设好!
用BLOCK命令定义块.
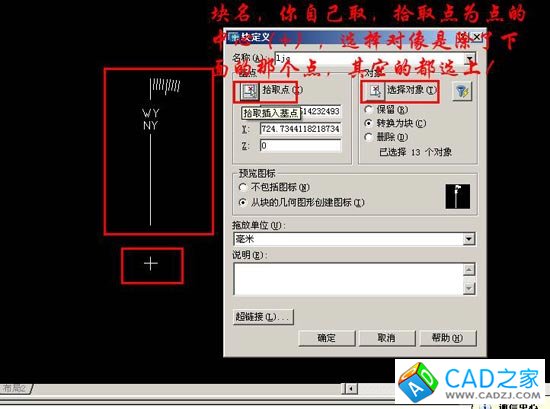
按确定后,弹出属性对话框,加入值!
如下图!

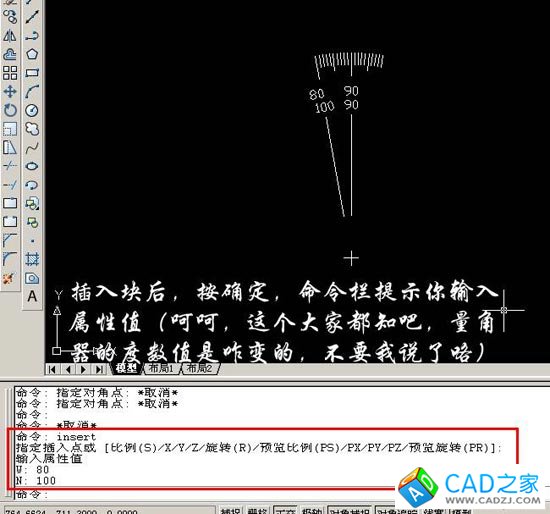
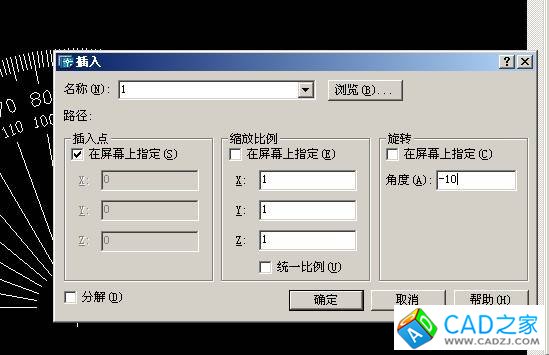
现在我们块已做好,之后运用INSERT命令,好像要用1Array次!(不过在这里可先完成一半,之后再用镜像命令,这样也行)
每次改变旋转角度值,每次加10!

重复上步操作!
左边操作完后,再做右边,这里要把旋转角改成负数!
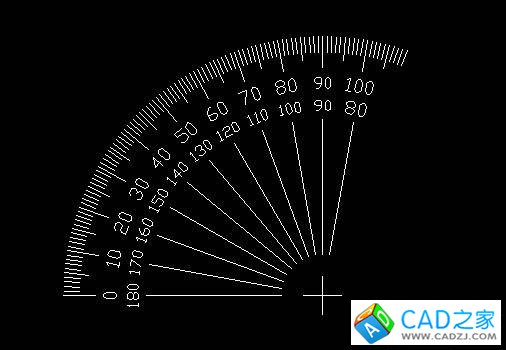
重复实用INSERT,呵呵,好麻烦咯
到最后步好像不对咯!咋多了一小块呢!

这里就要用到最后个命令了咯(EXPLODE)把它分解掉,删除下面多余的!
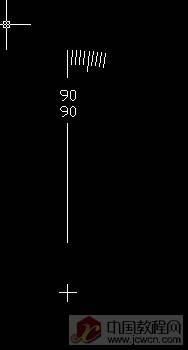
但在分解块后,发现180和0咋变成WY和NY呢,到这里,你编辑文字不就可了不!双击两下WY:::
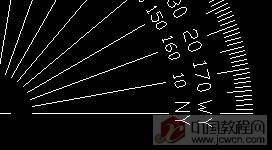
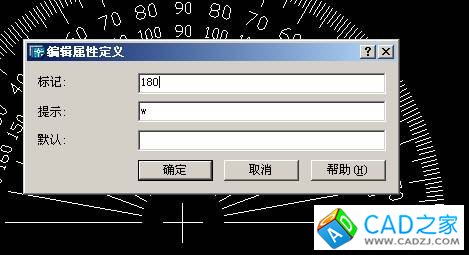
把NY值改成0 把WY改成180!
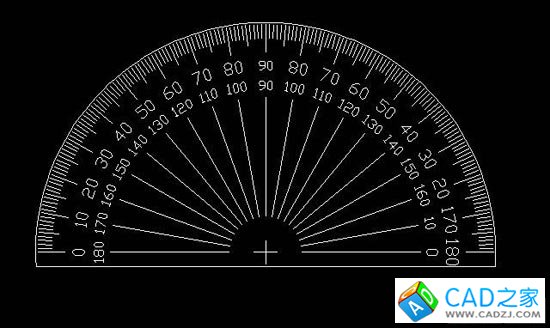
再给量角器加上边框!
呵呵,终于完成了咯!高兴,高兴,真高兴呀